
It’s normal to occasionally (about once a week, depending on summer evaporation) top off your swimming pool. However, if your pool water level keeps dropping significantly, and you’re topping it off on a daily basis, it’s time to start looking for a possible leak.
While evaporation and splash-outs are normal, consistent water loss can point to a leak that will not fix itself. The good news is that you can often narrow down the source with a few practical checks before you call a pro. This guide walks you through a clear, step by step process so you can understand what is happening and why swimming pool leak repair is sometimes the smartest move sooner rather than later.
Swimming Pool Leak Repair Starts with Confirming It’s Actually a Leak
Before you start inspecting fittings and digging into equipment, confirm whether you are losing water beyond normal evaporation. This simple first step can save you hours of frustration.
Swimming pool leak repair is most effective when you have strong clues about where the water is escaping, so start by gathering a little evidence.
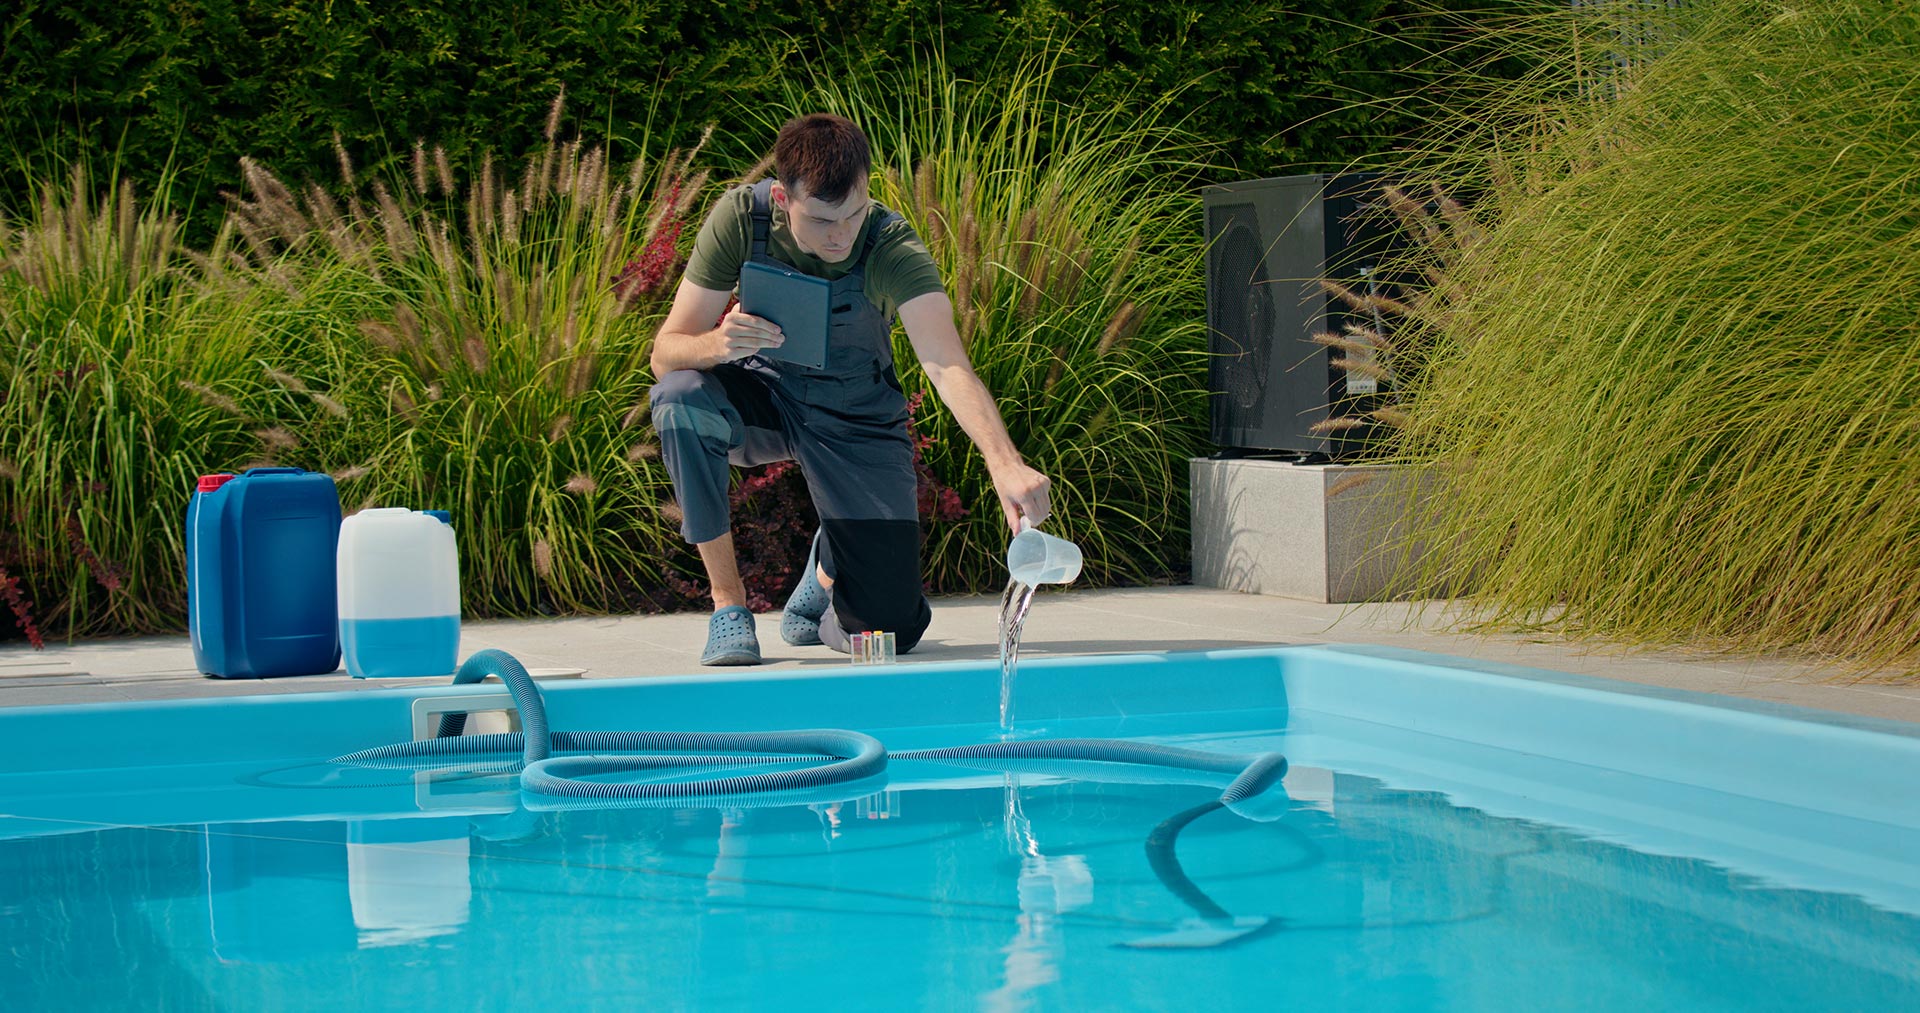
Step 1: Do the Bucket Test (It’s Simple and Surprisingly Reliable)
The bucket test helps you compare evaporation to actual water loss.
- Fill a bucket about three quarters full of pool water.
- Place it on a pool step so the bucket water level is close to the pool water level.
- Mark the waterline inside the bucket and the waterline on the pool wall with tape or a marker.
- Run the test for 24 hours, ideally with the pump off for part of the time and on for part of the time if you can.
- Compare the drop.
If the pool water drops more than the bucket water, you likely have a leak. If they drop about the same, evaporation may be the main culprit.
Step 2: Use Your Pump Schedule to Narrow the Category
A helpful clue is whether the leak gets worse when the pump is running.
- Water loss increases when the pump is on: This often points to a pressure side plumbing leak, a return line issue, or a fitting that leaks under circulation.
- Water loss continues at the same pace when the pump is off: This may suggest a structural leak, a suction side leak, a crack, or a leak around the skimmer or light niche.
This is not a perfect rule, but it is a smart way to guide your inspection.
Let the Water Level Tell You Where the Leak Is
One of the most useful leak locating tricks is also the easiest. Stop filling the pool for a day or two and let the water level drop. Many leaks reveal themselves because the pool will often stop losing water once it falls below the leak point.
- If the water stops dropping at the skimmer opening, the leak may be at the skimmer throat, the skimmer body, or the plumbing connected to it.
- If it stops at the return jets, the issue may be in that line or the fitting.
- If it stops at the light, suspect the light niche conduit or gasket.
- If it drops below all fittings and keeps going, the leak may be in the shell, main drain area, or plumbing underground.
This method does require patience, but it can be extremely informative.
Check the Most Common Leak Zones in Plain View
A large number of pool leaks are not mysterious. They are simply hard to notice because they are small, slow, and hidden in busy areas.
Skimmer and Waterline Area
Skimmers are a common leak source because they sit right at the waterline, where materials expand and contract and where swimmers bump the edges.
Look for:
- Cracks in the skimmer body
- Gaps where the skimmer meets the pool wall
- Worn skimmer gaskets (especially on vinyl liner pools)
- Damp soil or sinking decking near the skimmer
Return Jets, Fittings, and Plugs
Return fittings, directional eyeballs, and winterizing plugs can all develop slow leaks.
Look for:
- Dripping or bubbling around the fitting when the pump is on
- Loose lock rings or cracked fittings
- Worn O rings on threaded plugs
Pool Lights
A leaking light niche is more common than many homeowners think.
Look for:
- Water behind the light or a loose fixture
- Cracked lens or aging gasket
- A conduit line that allows water to travel out of the pool
If you suspect the light, avoid DIY electrical work. It is safer to have a technician inspect it.
Use Dye Testing for Targeted Confirmation
Once you have a suspected area, a dye test can confirm it. You can use leak detection dye or even dark food coloring in a pinch.
How to do it:
- Turn off the pump so the water is still.
- Get close to the suspected crack or fitting.
- Release a small amount of dye near the area.
- Watch whether the dye is pulled toward a point.
If the dye gets drawn into a crack, seam, or fitting, you likely found the leak path. Dye testing works best for slow leaks near the surface, such as around skimmers, steps, lights, and liner seams.
Do Not Forget the Equipment Pad and Plumbing Clues
Not every leak is inside the pool shell. Some are at the equipment pad or underground plumbing.
Equipment Pad Inspection
Walk the equipment area when the pump is running and look for:
- Drips at pump seals and unions
- Wet soil under valves or filter drains
- Water collecting near the heater or chlorinator
- A constant trickle from the backwash or waste line
Even a small drip at the equipment pad can add up to significant water loss over a week.
Plumbing Hints You Can Actually See
Underground plumbing leaks may show up as:
- A persistently soggy patch in the yard
- Air bubbles returning to the pool
- Loss of prime at the pump
- Cracks or shifting in nearby decking
Plumbing leaks often require pressure testing and specialized listening equipment to locate precisely. That is typically where professional swimming pool leak repair becomes the fastest and most cost effective option.
When to Call a Professional for Swimming Pool Leak Repair
If you have confirmed a leak and cannot pinpoint the source with the steps above, bringing in a technician is not admitting defeat. It is preventing a minor issue from becoming a larger repair.
Consider professional help if:
- The leak is fast, meaning you lose more than one inch in 24 hours
- The suspected source is electrical, like a pool light
- You see signs of underground plumbing issues
- The water level drops below the skimmer and keeps falling
- You have tried dye testing and still cannot confirm the leak path
A professional can pressure test lines, isolate circuits, and locate hidden leaks without unnecessary demolition.
Leak Detection Made Simple, With Expert Help When You Need It
Locating a pool leak is part detective work and part process. Start by confirming it is a leak with the bucket test. Then use your pump schedule, water level behavior, and targeted inspections to narrow it down. Dye testing can help confirm the exact spot, and a careful equipment pad check can reveal problems outside the pool shell.
If you are in the Port Orchard region and want a clear answer without guessing, Ole’s Pool and Spa can help. Our team specializes in swimming pool leak repair and can locate the source efficiently, explain your options, and make a repair that holds up.